React Native Basics - React Native or Expo?
How to decide the best tool for your project

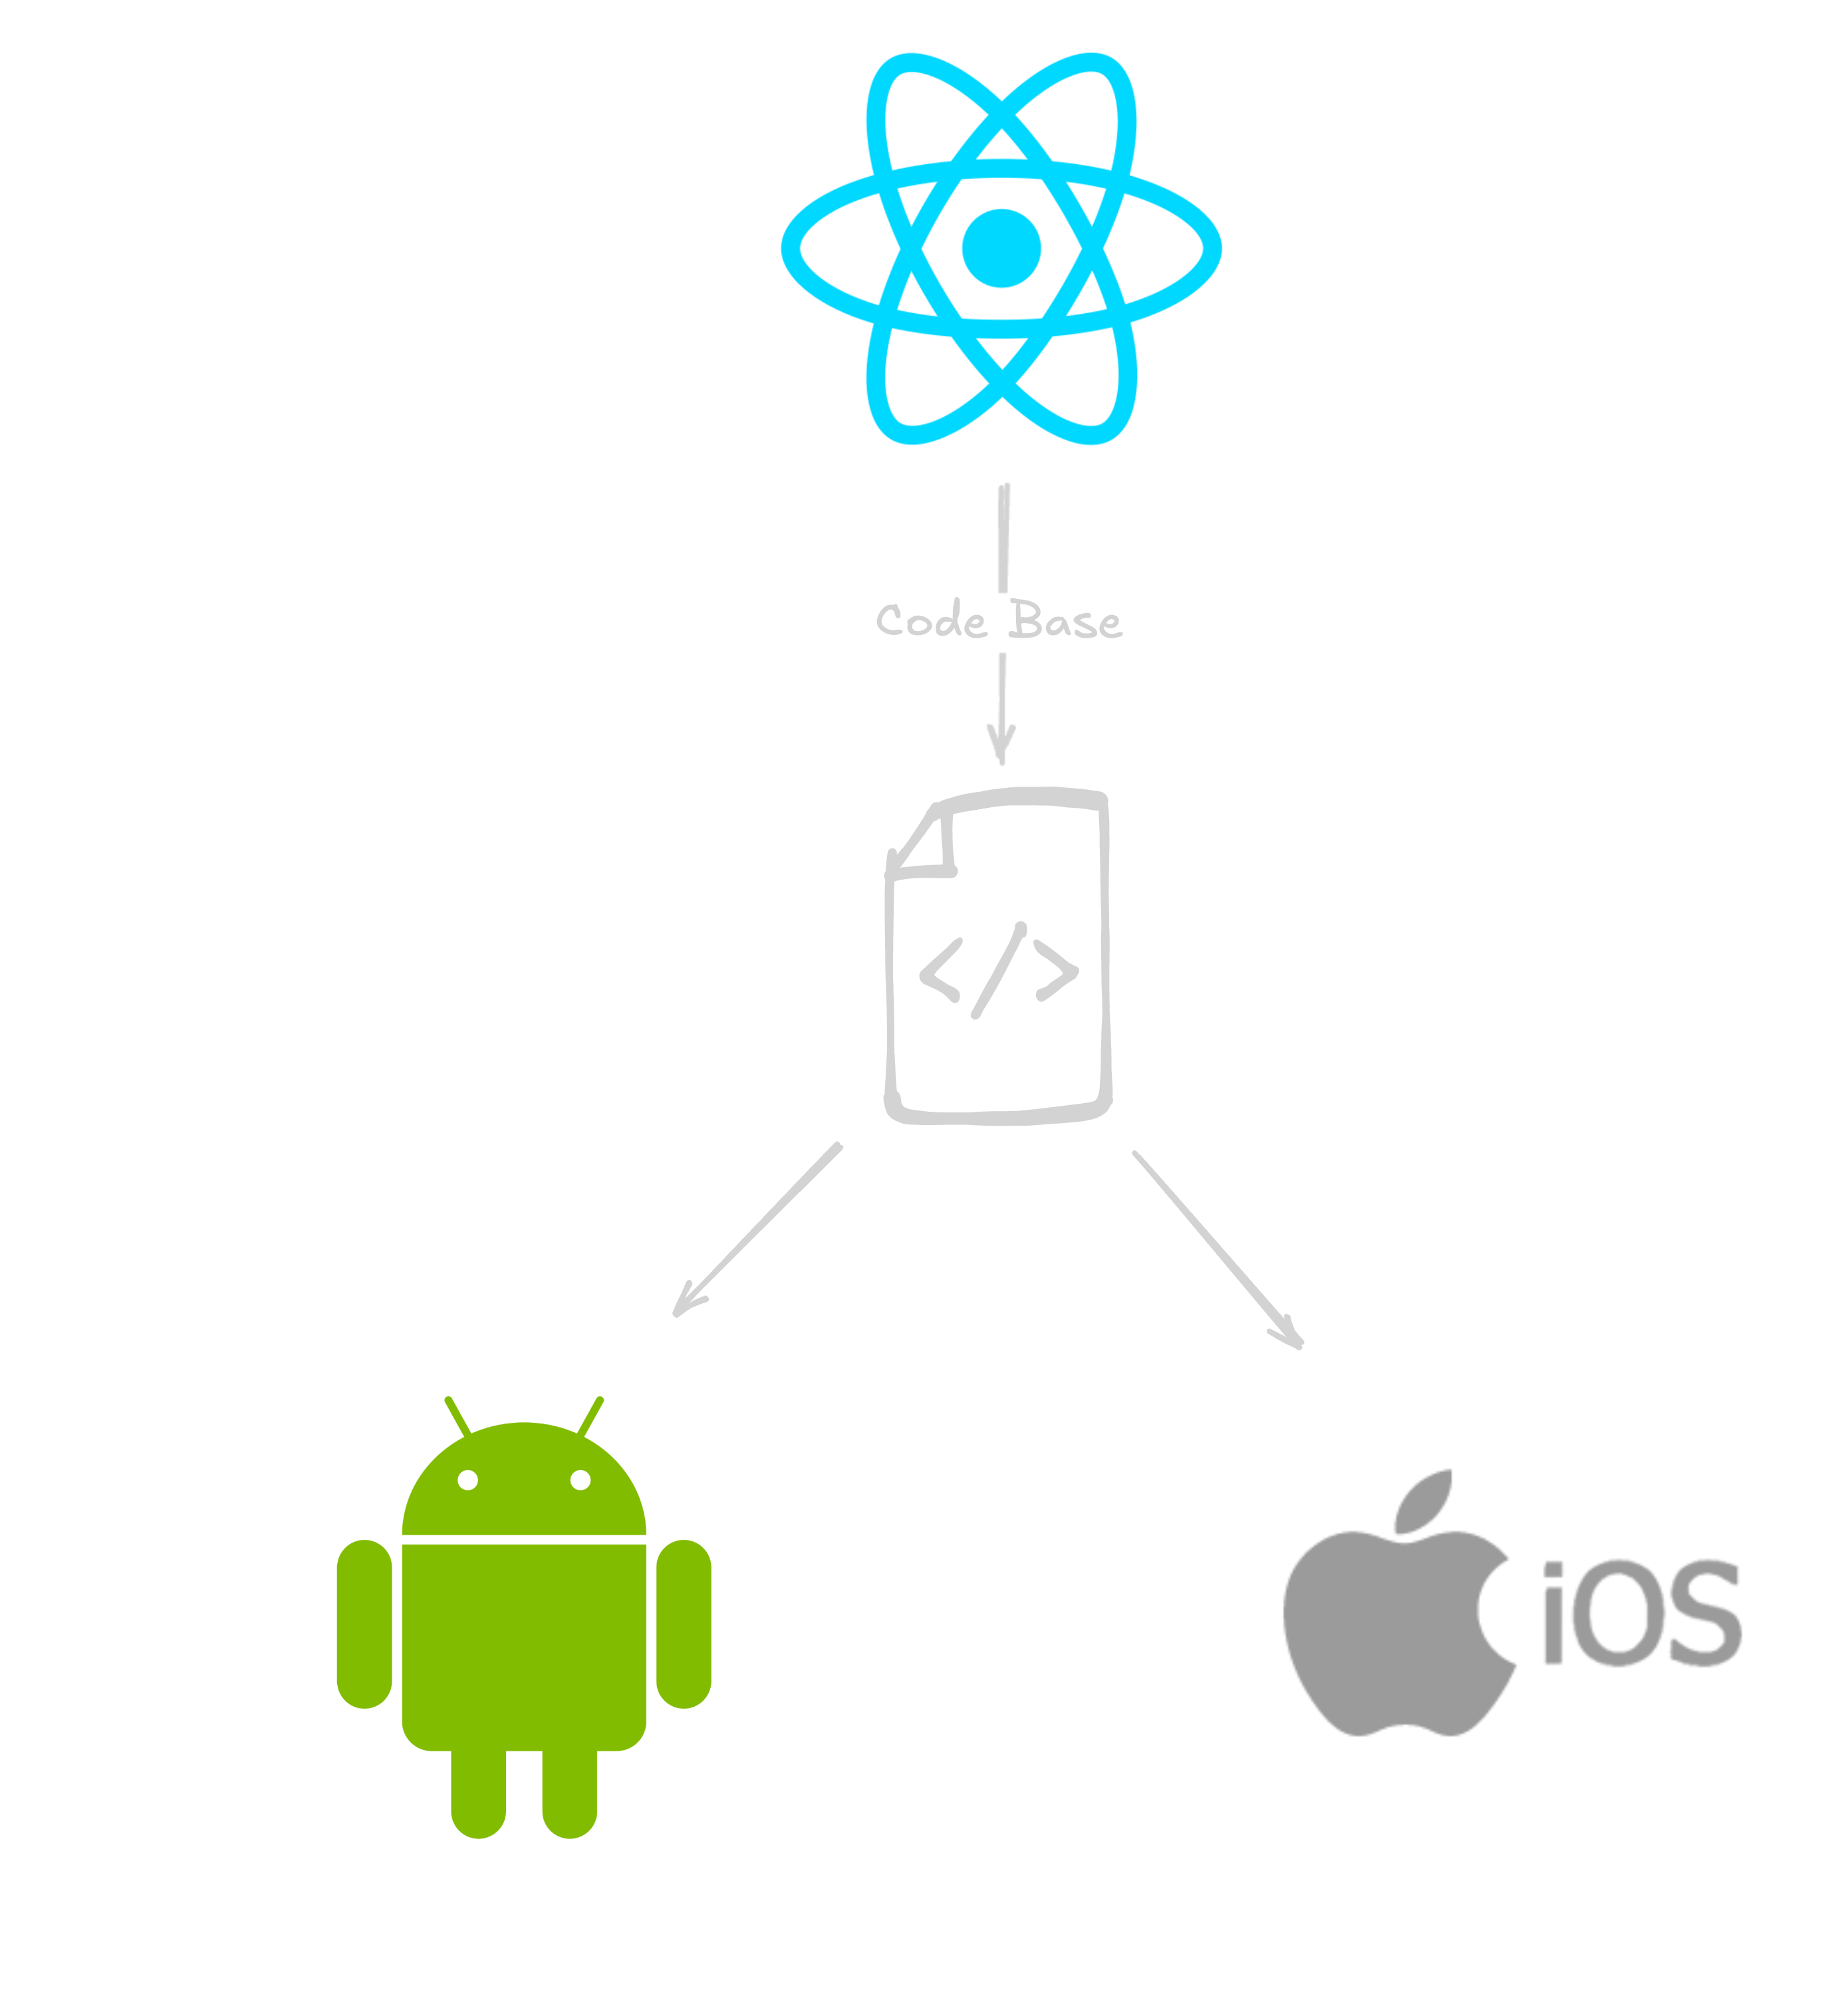
React Native is a framework created by Facebook, now Meta, that allows us to build native mobile applications using JavaScript and React in a single codebase.
In case you’re not familiar, a framework is a set of tools and libraries that help you develop something faster and in an organized way. By using a framework, you don’t need to build everything from scratch, and in React Native: View, Text, Image, and other components act as pre-made “blocks” for creating applications.
Native applications are those built for a specific operating system, such as iOS and Android, developed in Swift and Kotlin, respectively. Native applications tend to be faster and make better use of device resources, such as the camera, GPS, or sensors, because they communicate directly with the operating system.
Once, I heard that computing is like a short blanket: pulling it from one side will expose the other. In mobile development, this means that by seeking abstractions that simplify development, like in React Native, you might lose some control over performance. On the other hand, with native development, you have more control but must deal with greater complexity.

React Native brought with it the ability to create cross-platform apps with impressive ease, using the same codebase and accessing native resources with the simplicity of JavaScript. On the other hand, when building an app with native technologies, you forgo this simplicity during development in favor of having a more robust, performant, and lightweight app.
In summary, React Native is a mobile app development framework that allows you to create apps for Android and iOS using JavaScript and React. It works by translating the JavaScript code into native components of the operating system, resulting in fast apps with a truly native look and feel. The main advantage is that you can use a single codebase for both platforms, saving time and effort. It’s also a great option for those already familiar with JavaScript, as it leverages the language to create modern and functional interfaces.
Expo and Its Ecosystem
Enhancing this solution, we have Expo, a tool and platform that further simplifies the use of React Native. It functions as a development kit that comes with various pre-configured settings and resources, allowing you to start building and testing apps quickly while bypassing more complicated details like setting up the native environment with Android Studio or Xcode.
Expo also covers most of the features that React Native bare requires from the community. This makes development more practical and less dependent on manual configurations. However, if you need to use libraries or features that Expo does not support, you can “eject” the project. This means that the app will no longer be managed by Expo and will become a pure React Native project, allowing for more advanced customizations.
To help you understand, pure React Native is the framework without any extra tools, where you configure everything yourself, such as access to native APIs and external libraries. On the other hand, Expo is a platform that uses React Native underneath but adds several pre-configured settings and APIs to simplify development, such as camera, location, and notifications.
Think of Expo as an “additional layer” that simplifies the use of React Native, but if you need something very specific that it doesn’t support, you’ll need to use pure React Native. Both are part of the React Native ecosystem, but Expo is a more practical and quicker option to get started.
Another advantage of Expo is the ability to test your app very quickly, without setting up emulators or connecting physical devices, using Expo Go (an app that runs the code directly on your phone).
In summary, Expo is ideal for those who want to get started quickly and with simplicity, and it covers many use cases without the need for complex configurations.
Bare React Native or Expo?
The choice will depend on the project’s needs: flexibility and customization vs. simplicity and speed.
| Aspect | React Native (Bare) | Expo |
|---|---|---|
| Setup Ease | 🔴 More complex | 🟢 Simple |
| Flexibility | 🟢 Total, allowing for native customizations and integrations | 🔴 Limited, does not support all native functionalities |
| Libraries | 🟢 Full access to all community libraries | 🟡 Includes own APIs, but not all work without ejecting |
| Learning Curve | 🟢 Quick for those with solid React fundamentals | 🟢 Simpler for beginners, with abstractions for native APIs |
| Development Time | 🟡 Longer due to manual setup | 🟢 Reduced, with pre-configured resources and ready-made APIs |
| Device Testing | 🔴 Requires full compilation to test on the device | 🟢 Quick testing using Expo Go, no need for compilation |
| Performance | 🟢 High, ideal for large apps | 🟢 Good for most cases |
| Publishing | 🔴 Manual setup required to generate builds and publish to stores | 🟢 Integrated tools (EAS) simplify build and publication |
| Scalability | 🟢 Suitable for large projects | 🟡 Ideal for MVPs and smaller projects |
| Platform Dependence | 🟢 Independent, you control the code and project evolution | 🔴 Depends on the Expo team’s updates and support |
| Ideal For | 🟢 Advanced and highly customizable projects | 🟢 Prototypes, MVPs, and simple projects that need quick setup |
If you’re creating a prototype or MVP quickly, Expo may be the best choice as it greatly simplifies setup and quick testing. However, if you need full flexibility or are developing an app that requires specific customizations in native APIs, pure React Native is the better option.
An MVP (Minimum Viable Product) is a simplified version of a product, with the minimum necessary features to meet the needs of early users and validate the project idea.
Command Line Interface
Both React Native and Expo have their own CLIs, and each serves specific purposes within their contexts. For both command-line tools, it is common to use npx, a Node.js tool that runs packages without needing to install them globally on the system.

Using
npxis highly recommended to run the React Native and Expo CLIs, mainly because you don’t have to worry about installing the tool or keeping it updated.
React Native CLI
The React Native CLI is used to create bare projects, giving full control over native code, such as Swift for iOS or Kotlin for Android. This means you can add very specific functionalities directly into the native code, but to do this, you need to manually configure the development environment, installing tools like Android Studio and Xcode.
npx react-native init MyNewProject→ Creates a new project with the default React Native structure.npx react-native run-android→ Runs the project on an Android emulator or device.npx react-native run-ios→ Runs the project on the iOS simulator (requires Xcode on macOS).
Expo CLI
The Expo CLI, on the other hand, is designed to simplify the use of React Native. It works as an additional layer that abstracts much of the complex configurations, allowing you to quickly create apps without needing to install native tools like Android Studio or Xcode.
npx create-expo-app MyNewProject→ Creates a new project with the Expo setup.npx expo start→ Starts the server and opens the project in Expo Go for testing on the device.npx expo build:androidornpx expo build:ios→ Builds the app package for distribution on the Google Play Store or App Store.npx expo eject→ Converts the Expo project into a bare project.
In addition to the commands mentioned above, there’s also npx expo install, which installs package dependencies optimized for the Expo environment.
When you’re working with Expo, the Expo team maintains a set of library and package versions that have been tested and are guaranteed to work well within the Expo ecosystem. Using npx expo install helps ensure that you’re installing the exact version of a library that is compatible with the version of Expo you’re using.
Final Considerations
In this article, I hope you have learned about the differences between pure React Native and Expo, two great tools for mobile app development. Now that you have a basic understanding of how both work, you are equipped to choose which one fits your goals best and can start building your own projects.
The next step is to practice by creating your first app with Expo or React Native, depending on your needs. To dive deeper, I recommend exploring the official documentation of React Native and Expo.